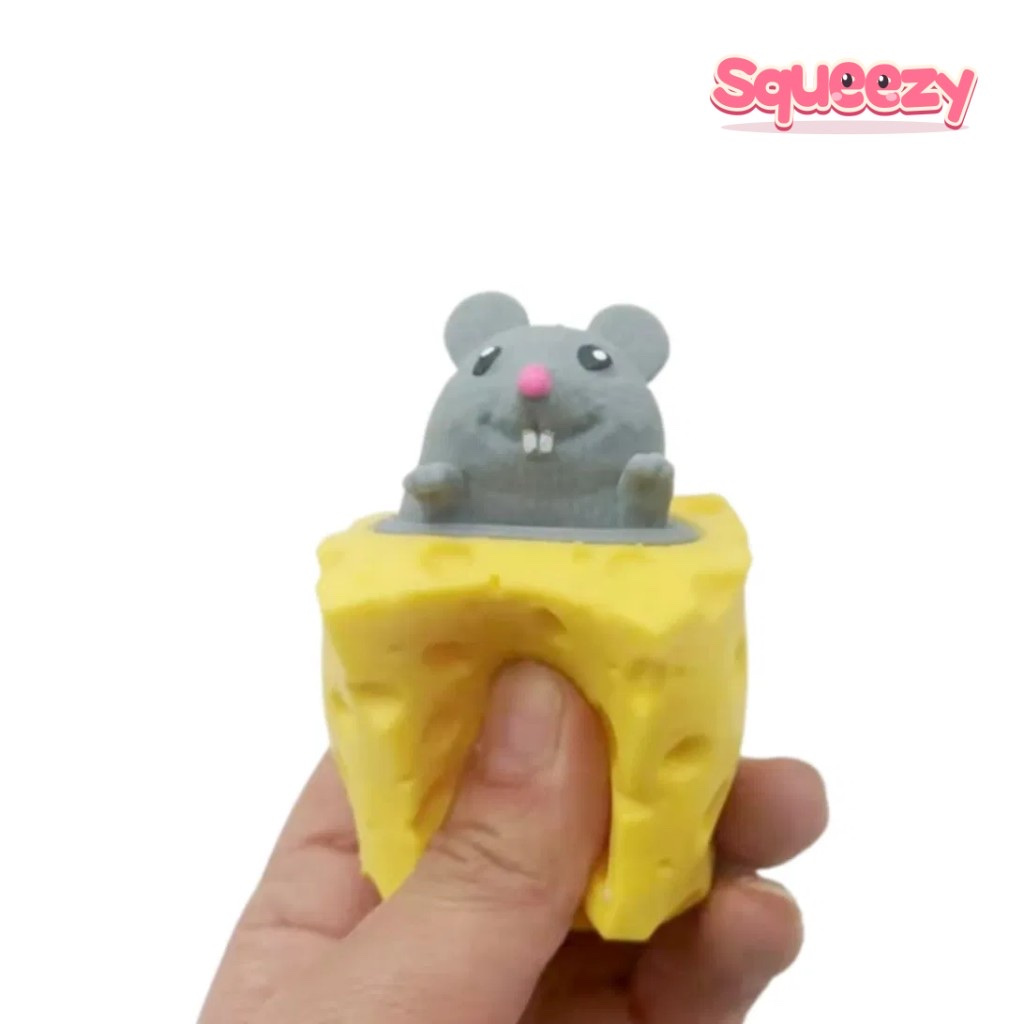
 Cheese Squishy
 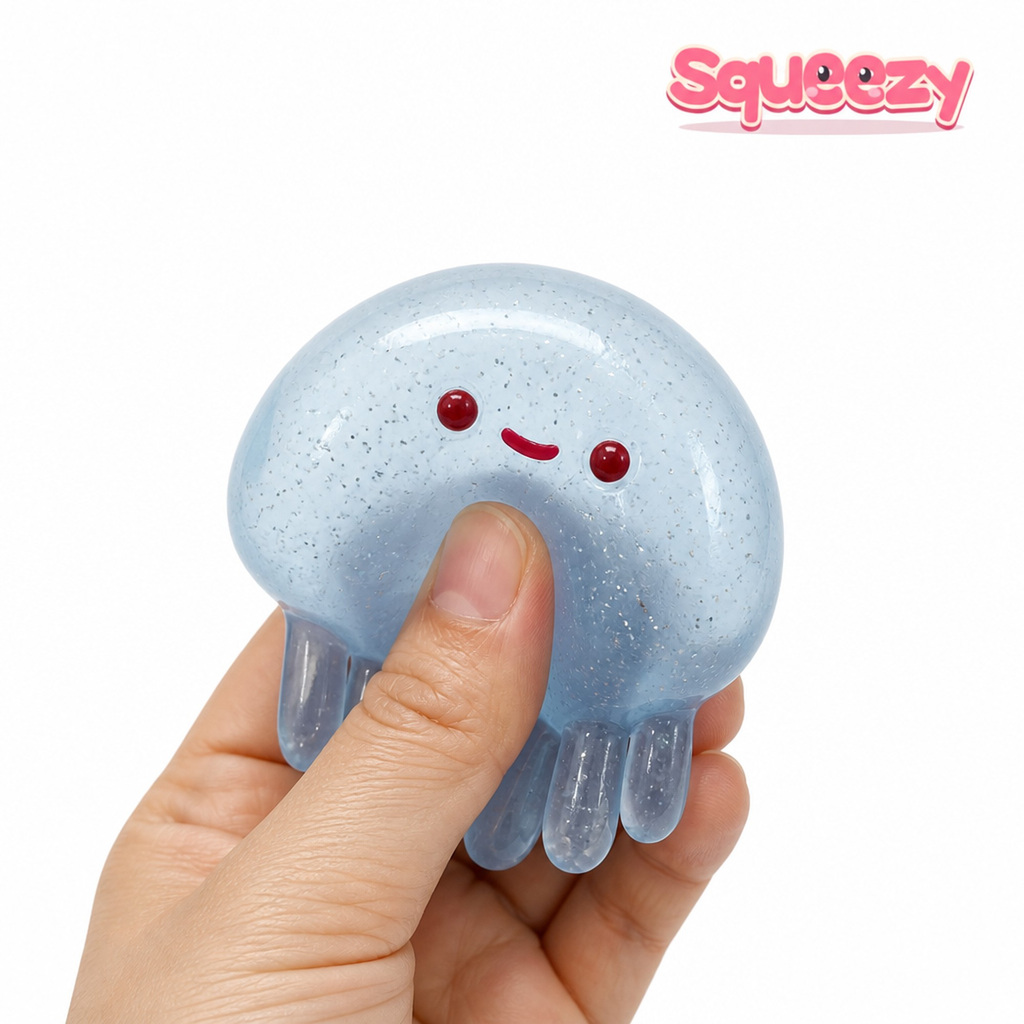 Jellyfish Squishy
 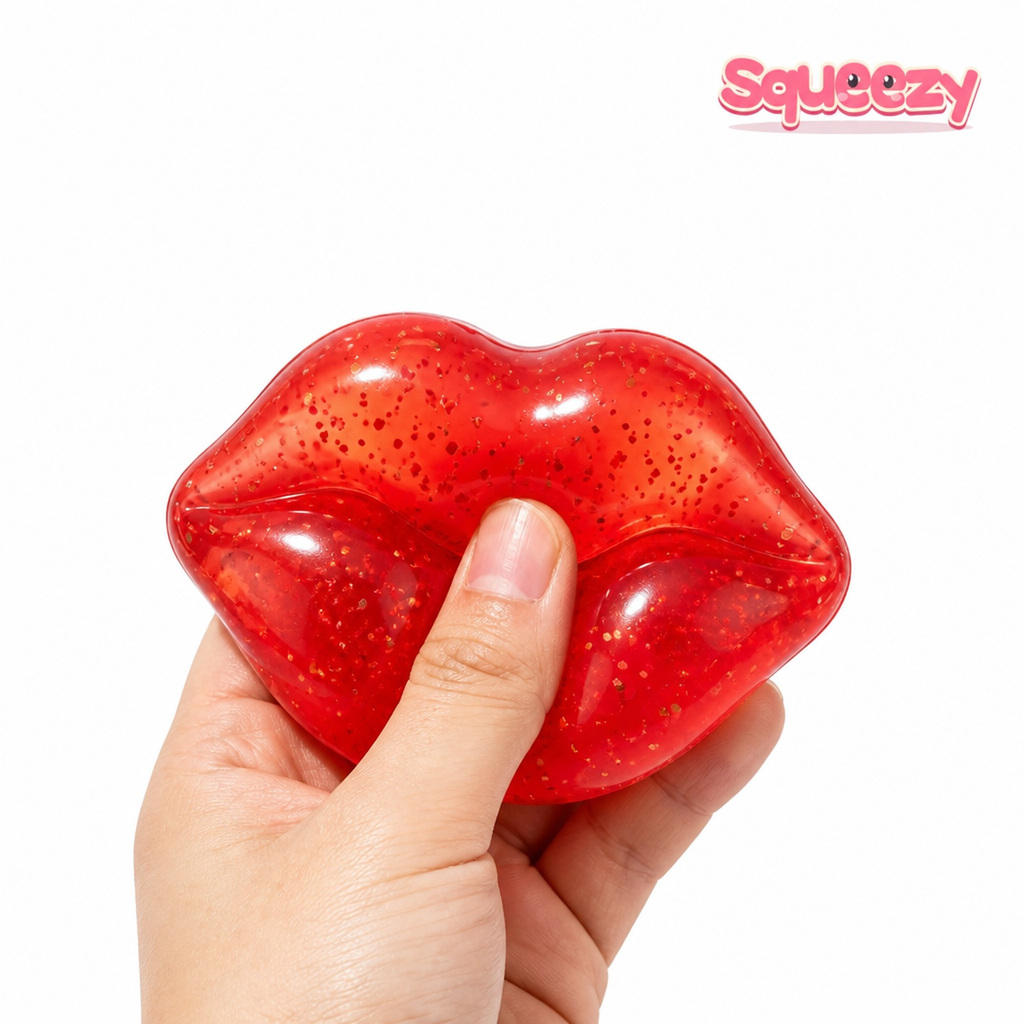 Jumbo Lips Squishy
 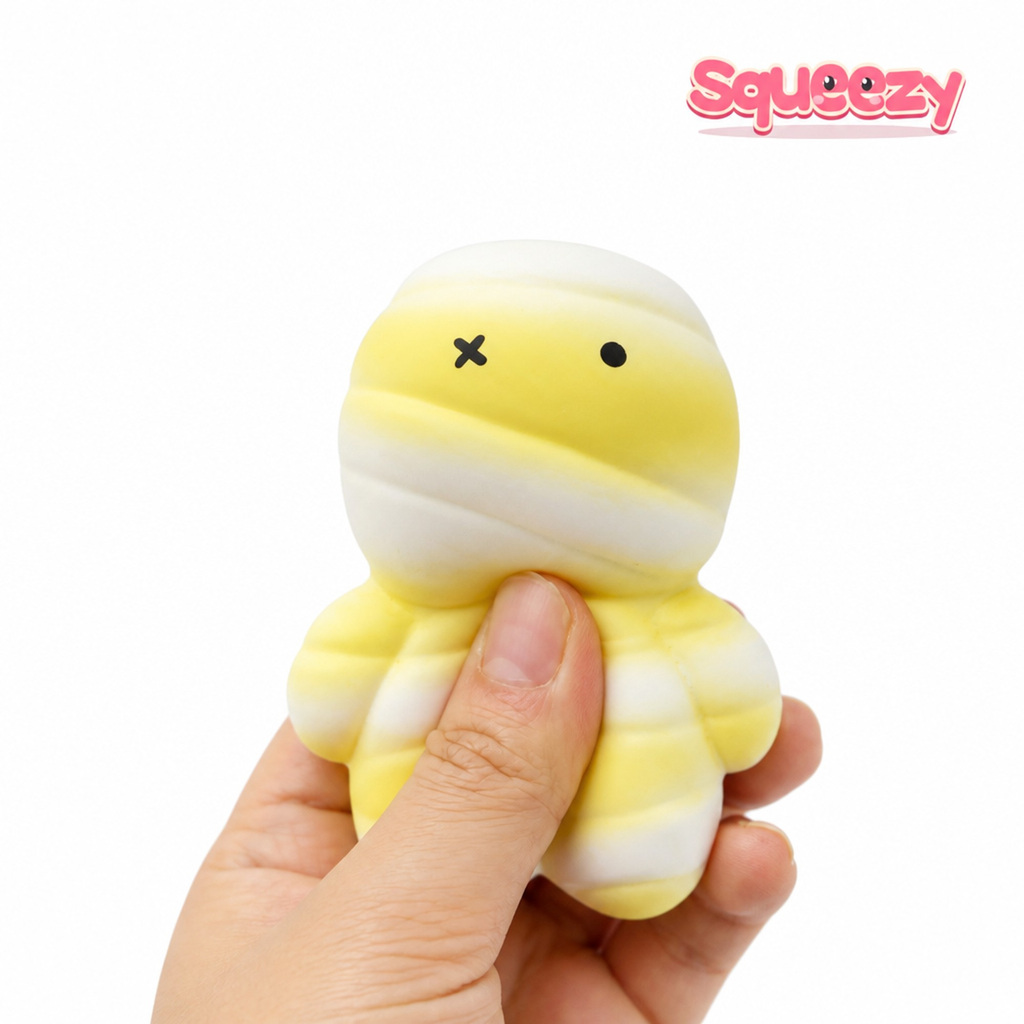 Mummy Squishy
  Pop-Eye Rhino
  Salted Butter Stick
  Pink Lychee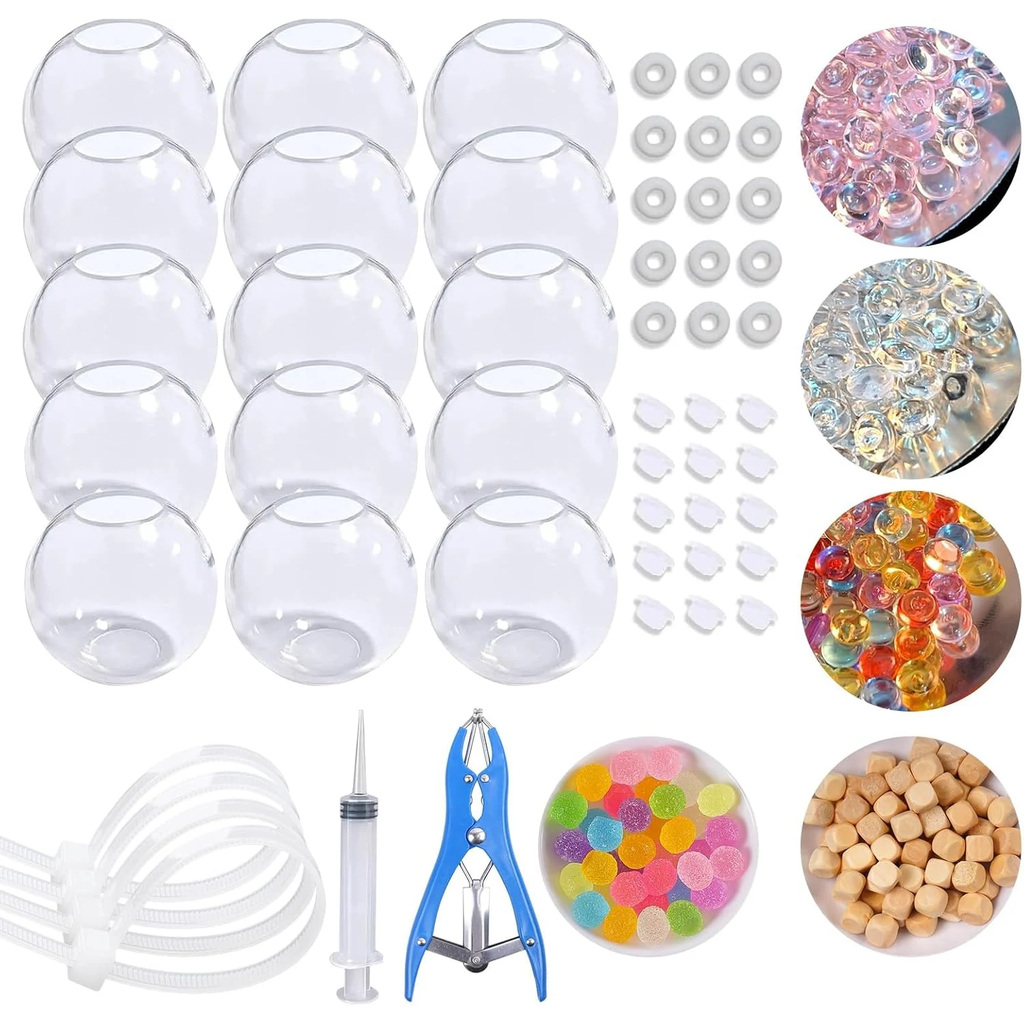
If you are working out how to make a homemade squishy, the quickest route is to wrap something soft in a skin that holds it together: a foam sponge sealed in tape, flour sealed in a balloon, or stuffing sealed in a paper and tape shell. Each fits into an afternoon with things from a kitchen drawer. What none of them gives you is the slow, even rise of a shop-bought foam squishy, and it helps to know why before you start.
How to make a homemade squishy: pick the feel first
Before choosing a method, decide which feel you are after. The three household builds land in very different places.
| Build | Feel when squeezed | Comes back? | Main weak point |
|---|---|---|---|
| Sponge sealed in tape | springy, light | yes, quickly | tape creases and lifts at the corners |
| Balloon filled with flour | dense, doughy, holds a dent | no, you reshape it | the balloon can split and spill the powder |
| Paper or tape shell with stuffing | soft, crinkly | slowly and partly | paper tears at the seams |
| Shop-bought slow-rise foam | soft, sinks deep | yes, slowly | foam can crack with age |
The last row is there for comparison only. It is the one you cannot make at home, and the section after the builds explains why.
Build 1: a sponge wrapped in tape
This is the fastest homemade squishy, and the one that comes back to shape on its own.
- Pick a soft foam sponge without a scouring layer. The softer it is, the softer the squishy.
- Draw a simple outline on it: a cloud, a heart, a slice of bread. Rounded shapes work better than points.
- Cut it with sharp scissors, rounding the edges as you go. A child can draw; an adult should cut.
- Wrap it tightly in clear packing tape, overlapping each strip. Cling film under the tape gives a smoother finish.
- Decorate the tape with permanent marker or stickers.
Expect a quick, springy bounce rather than a slow rise, because the sponge was made to spring back. The tape skin is also the first thing to fail: once it creases and starts lifting, rewrap it.
Build 2: a balloon filled with flour
The balloon version is really a stress ball, and it behaves like dough. It holds a thumbprint until you work it back into shape.
- Stretch a balloon a few times so it loosens.
- Put a funnel in the neck, or cut the top off a plastic bottle and use that.
- Spoon in flour or cornstarch a little at a time, tapping it down. Pushing it in with the end of a pencil helps.
- Squeeze out as much air as you can, then tie the neck tightly.
- For a stronger skin, cut the neck off a second balloon and pull it over the first.
Two cautions. Latex balloons are a known choking risk for small children, and US federal rules (16 CFR 1500.19(b)(2)) require a cautionary statement on any latex balloon, so read the warning on your packet and keep broken pieces away from young kids. And a split balloon full of flour makes a real mess, so squeeze it over a table, not a sofa.
Build 3: a paper or tape shell with stuffing
Paper squishies are drawings made three-dimensional: two matching shapes cut out, taped around the edges, and filled with cotton wool, pillow stuffing or scrunched plastic bags before the last edge is sealed. The feel is soft and a little crinkly, and they rise back slowly and never quite fully. Their weak point is the seam.
Because the shape is the whole idea with a paper squishy, choosing the design matters more than the build. Our post on paper squishy ideas sorts real squishy shapes into easy, tricky and not worth it on paper, so we will not repeat the steps here.
Why a homemade squishy can’t rise slowly
The slow-rise squishy in a shop is not stuffed with foam. The foam is made in the shape of the toy. Liquid ingredients are injected into a mould, a chemical reaction gives off carbon dioxide, and those bubbles become the foam, as the Wikipedia entry on stress balls describes for polyurethane foam stress relievers. The paint goes on afterwards.
That tells you what a kitchen can and cannot do. You can cut, fill, wrap and seal. You cannot foam a liquid into a mould shape, so the slow sinking feel and the even, gradual return are out of reach with household materials. The one workaround is to borrow foam that a factory already made: offcuts from an old memory-foam pillow or topper recover slowly, and a sponge-style build using them instead of a kitchen sponge will sink and rise more like the real thing. You are reusing slow foam, not making it, and pillow foam is not shaped or painted like a squishy. If a true shop finish is what you want, a homemade version will disappoint, however careful the build. If you want a craft afternoon and a squishy with your own design on it, the builds above are fine.
When a kit is the better route
A kit makes sense when you want a result that lasts longer than tape, or a feel the household builds cannot give. We sell three, and they sit on different sides of the table above.
- DIY Squishy Making Kit with 15 TPR skins ($27.99): 15 clear TPR skins, five fillers totalling 14 oz, an air pump and an expander tool. The listing describes it as the balloon-and-flour method with thick skins instead of balloons, so it gives you Build 2 with a sturdier outside.
- Silicone Squishy Making Kit with 8 molds ($21.99): two-part liquid silicone, eight reusable molds and glow pigment; pieces cure in 24 hours. This makes a soft, bouncy silicone squishy, not a foam one.
- Liquid Silicone Kit with paw, capybara and bunny molds ($29.99): silicone parts A and B mixed 1:1, three molds, glitter, flocking powder, glow powder and storage bags.
None of the three makes slow-rise foam either. The silicone kits are the closest thing to a shop finish you can get at home, and both listings say to mix with gloves on a covered surface, with younger children working alongside an adult. For the silicone method in detail, see how to make a taba squishy at home; for what each box contains, see taba squishy kits compared. All three are in the squishy making kits collection.
FAQ
How do you make homemade squishies without foam?
Use a balloon filled with flour or cornstarch, or a paper or tape shell filled with cotton wool or plastic bags. Both are foam-free. The balloon version stays dented until you reshape it; the paper version rises back slowly and only partly.
How to make squishies easy with three ingredients?
The simplest three-item version is a balloon, flour and a funnel. Fill, squeeze out the air and tie. Add a second balloon over the top if you want it to survive rough handling.
Can a homemade squishy be slow rising?
Not from scratch. Slow-rise foam is foamed inside a mould during manufacture, which a kitchen cannot copy. The closest you can get is to cut and wrap offcuts of memory foam from an old pillow, which reuses foam that already rises slowly. A kitchen-sponge squishy springs back quickly; a flour squishy does not spring back at all.
What should I fill a DIY squishy with?
Match the filling to the feel. Flour or cornstarch gives a doughy squeeze, cotton wool or pillow stuffing gives a light, soft one, and a cut sponge gives a springy one. Avoid anything that could spill and cause harm if the skin splits near young children.