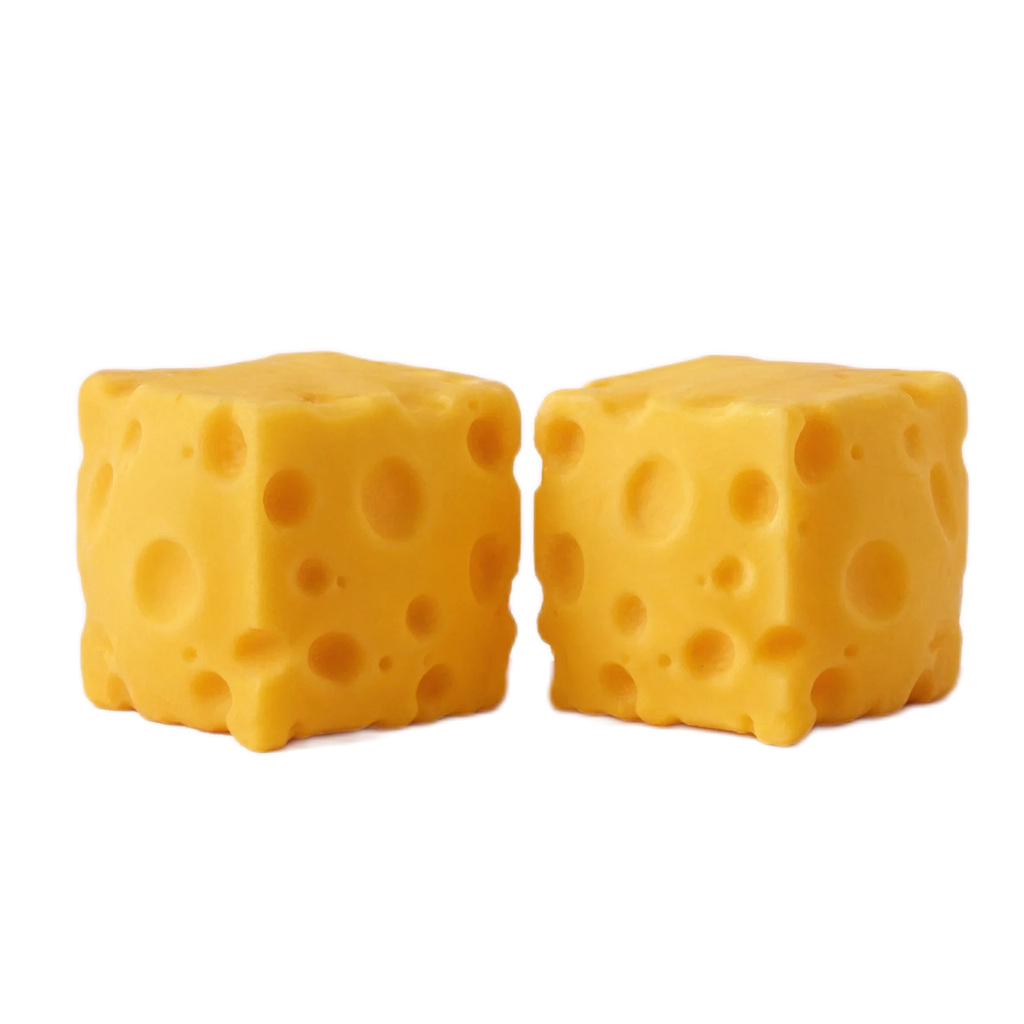
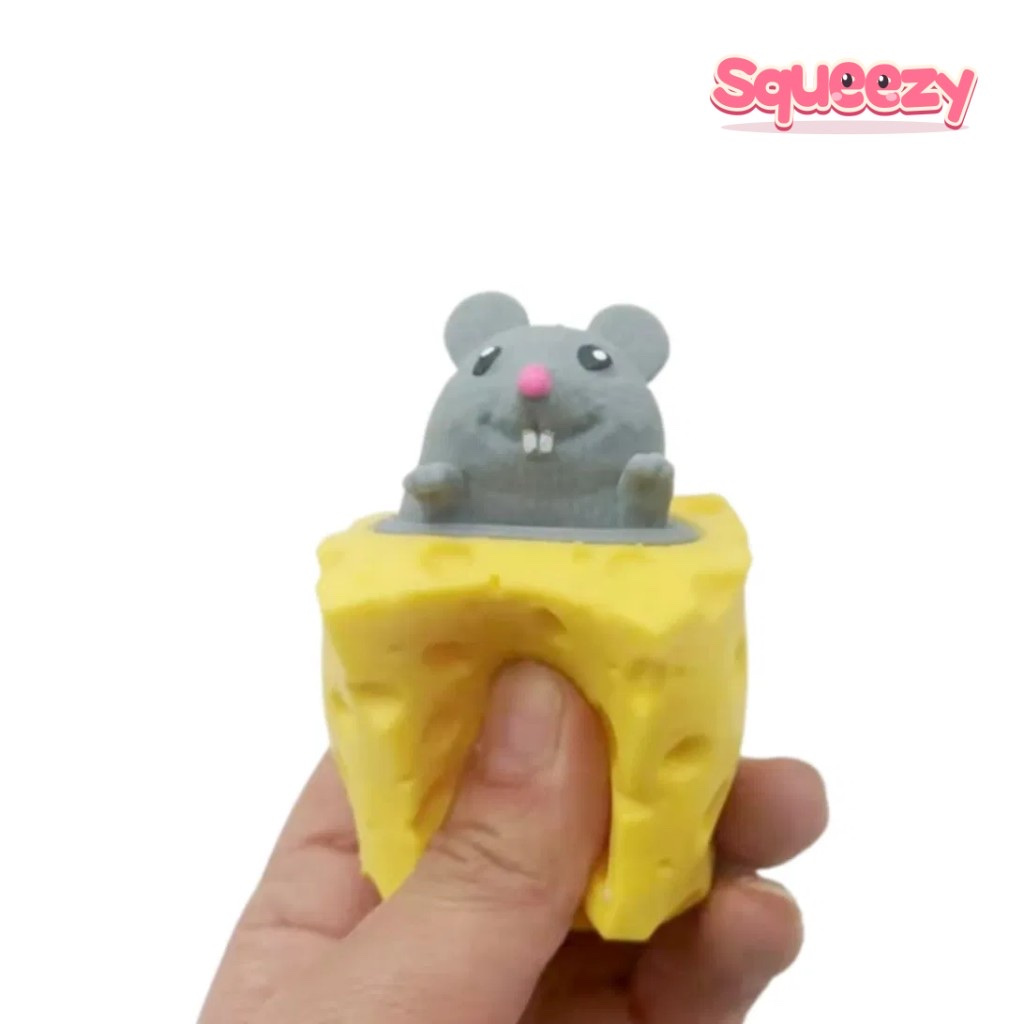
 Cheese Squishy
 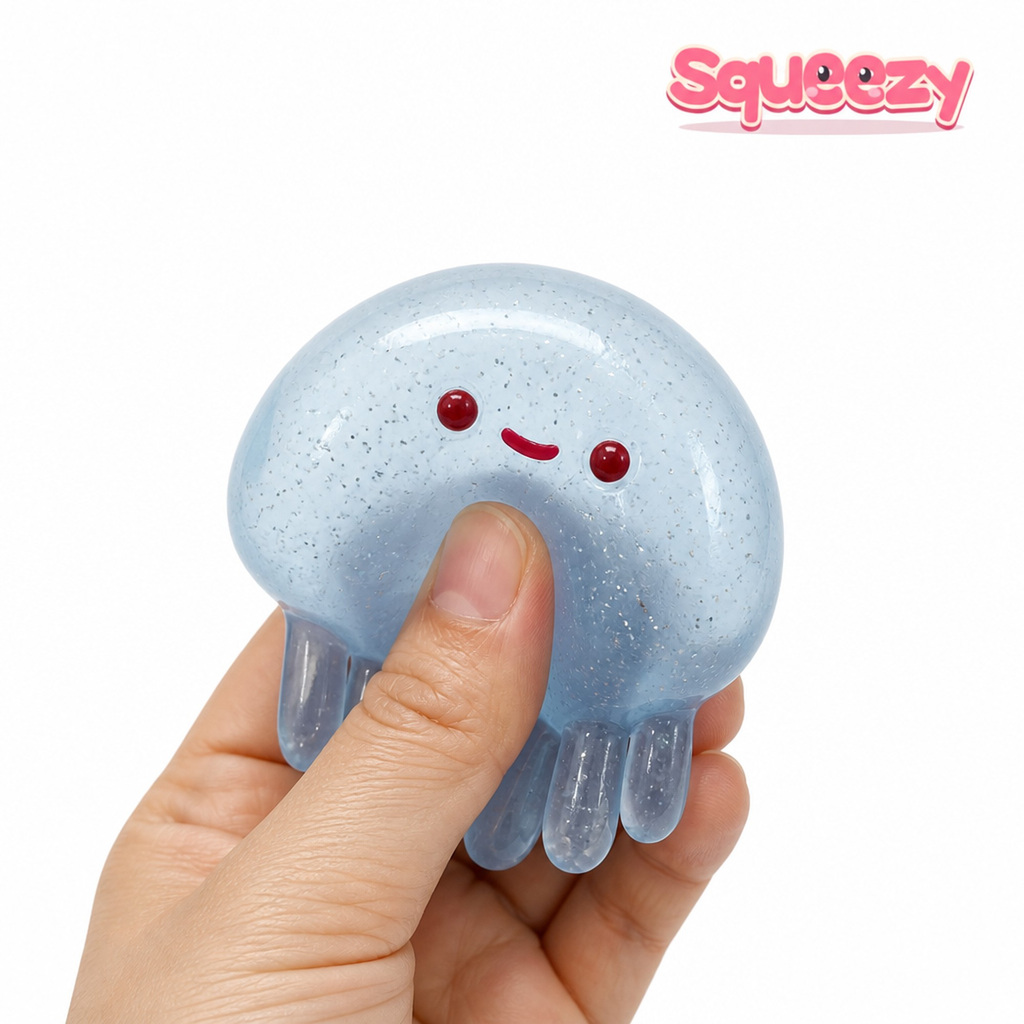 Jellyfish Squishy
 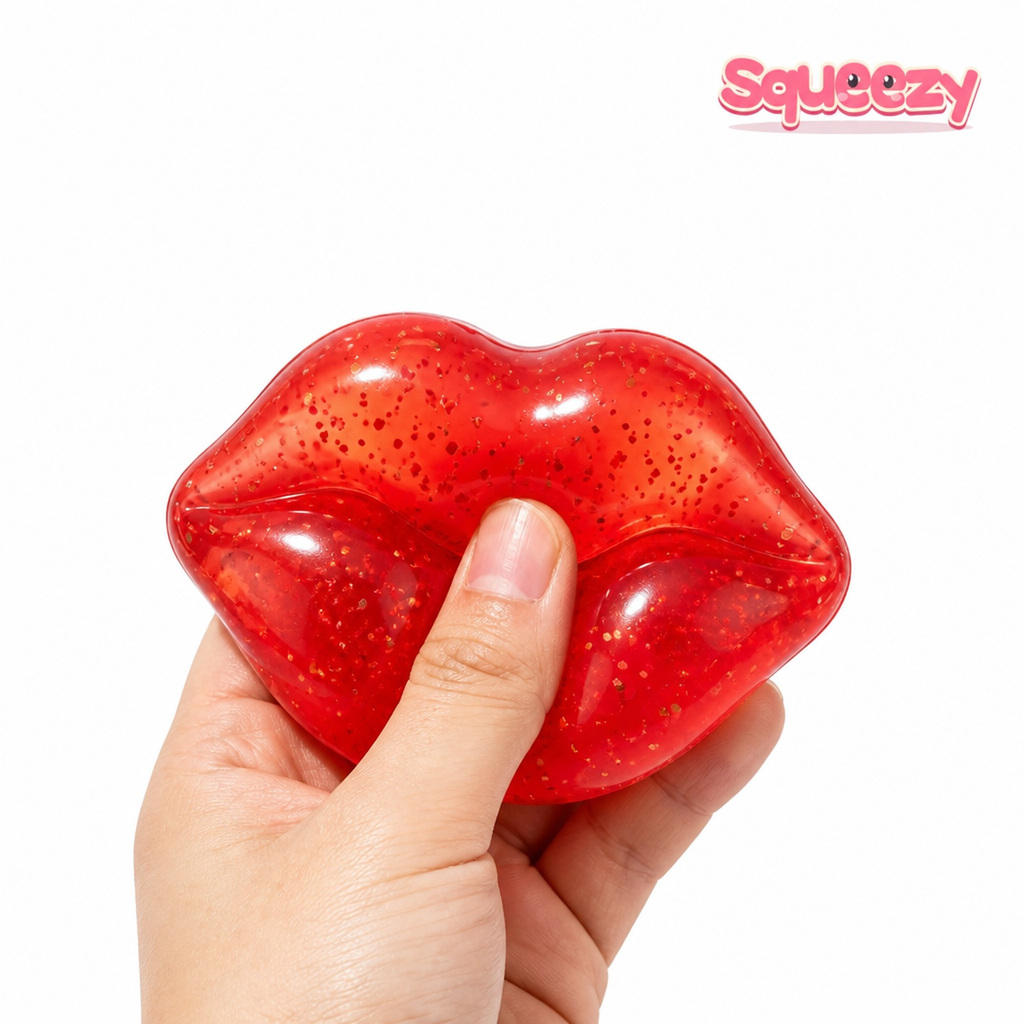 Jumbo Lips Squishy
 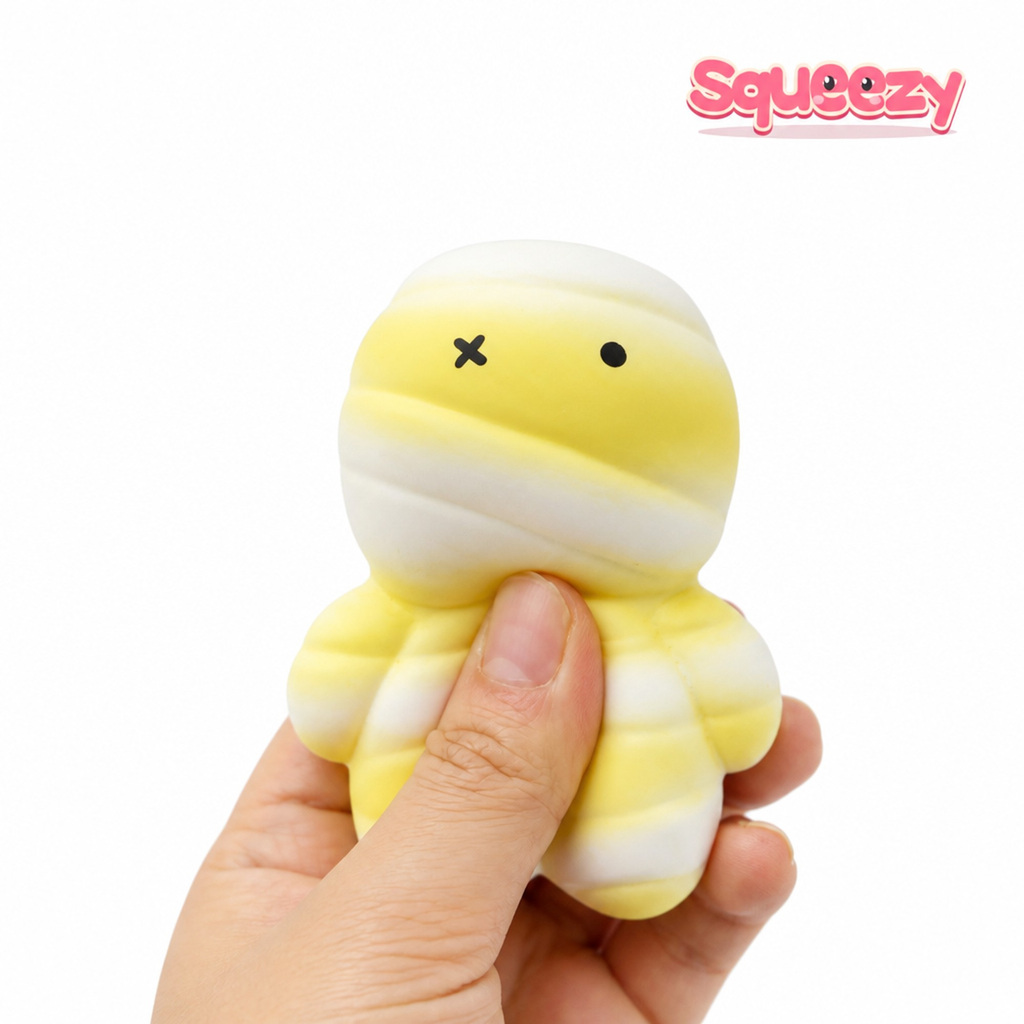 Mummy Squishy
 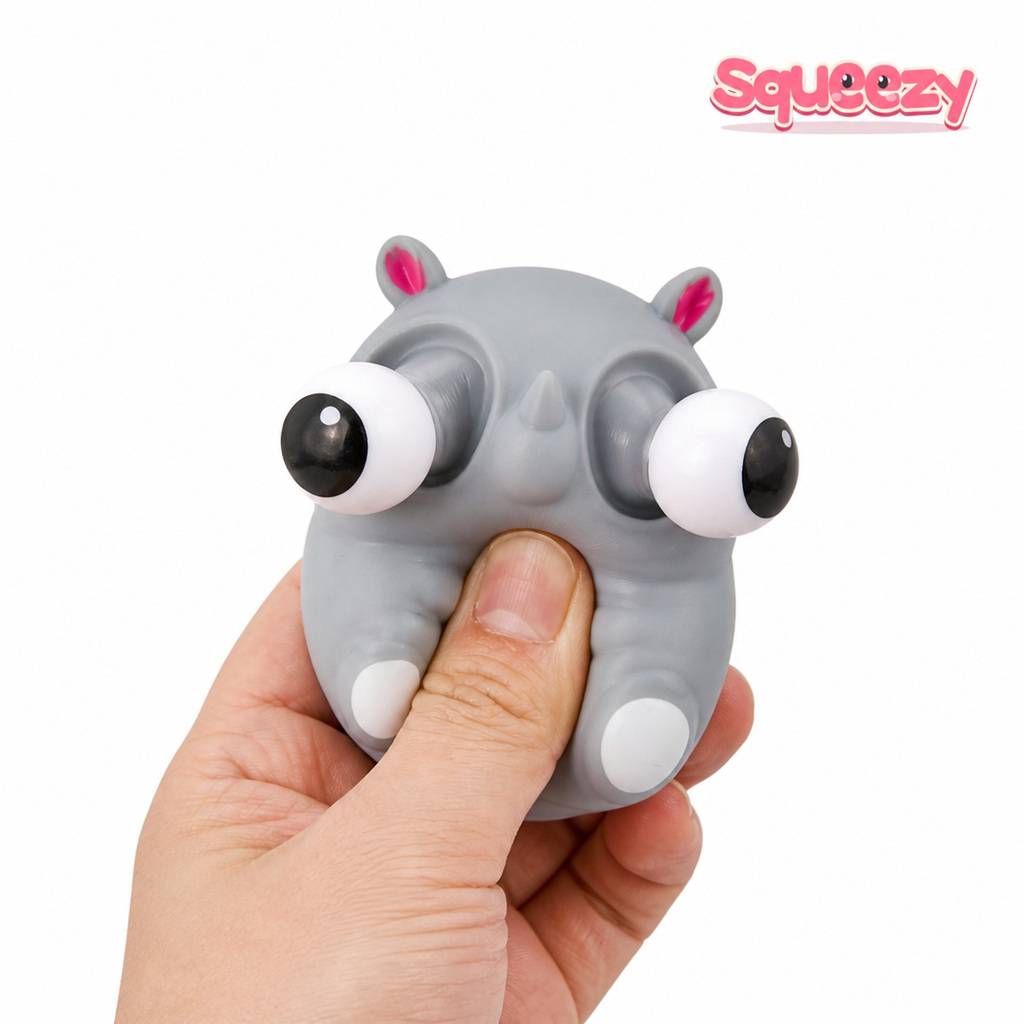 Pop-Eye Rhino
 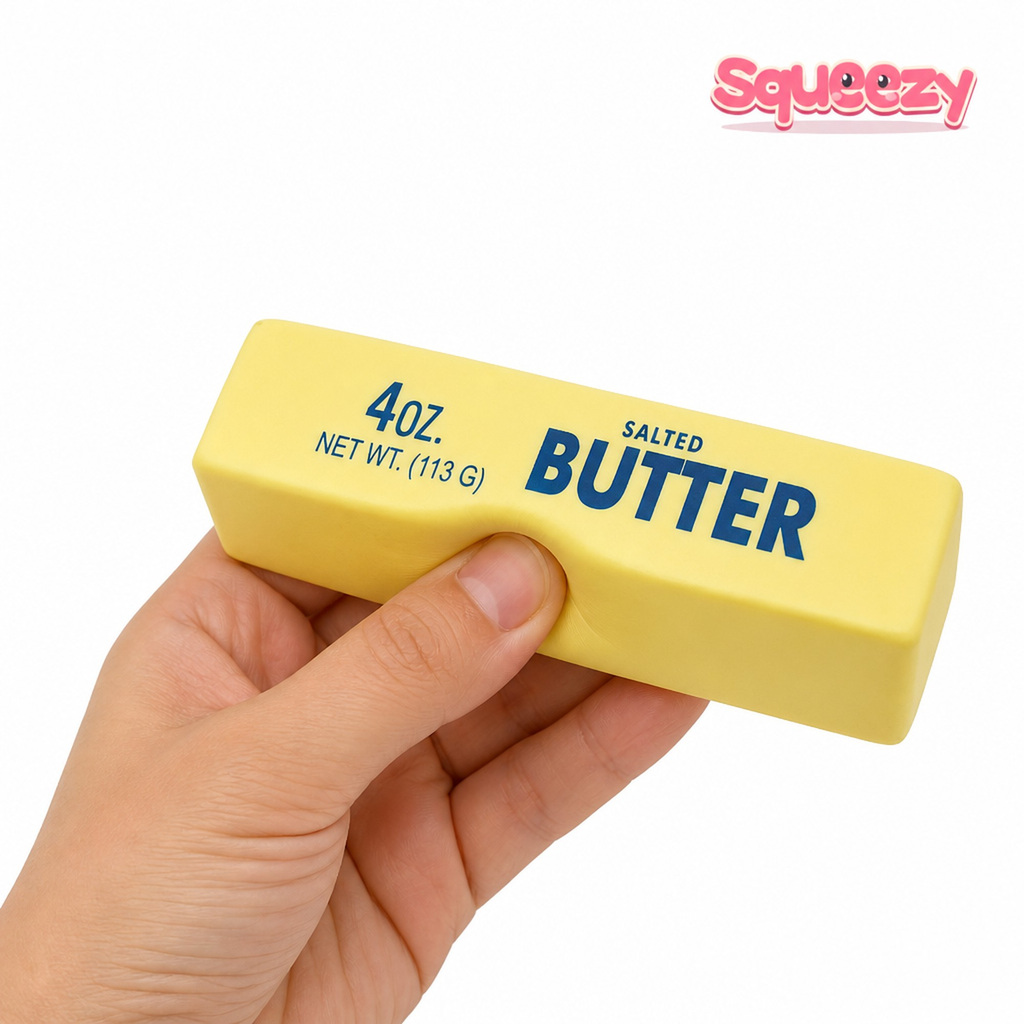 Salted Butter Stick
 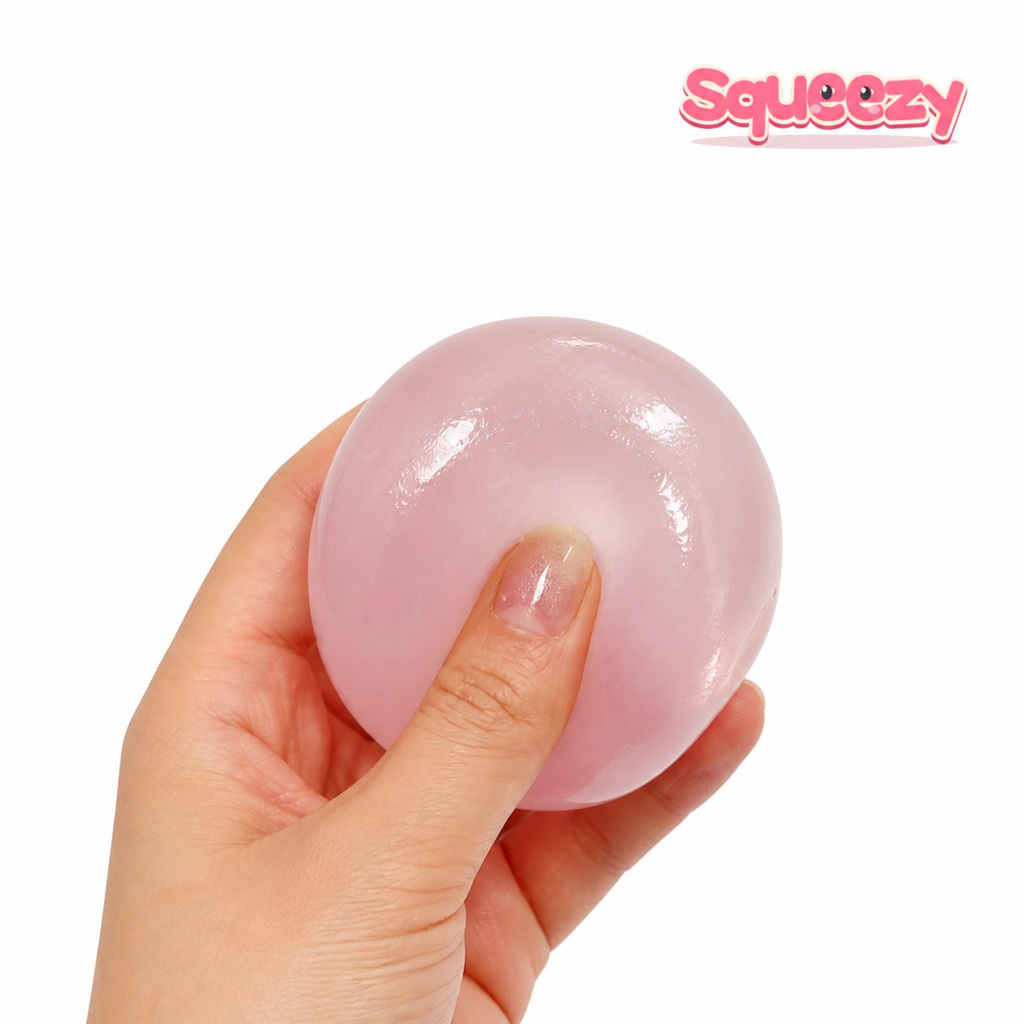 Pink Lychee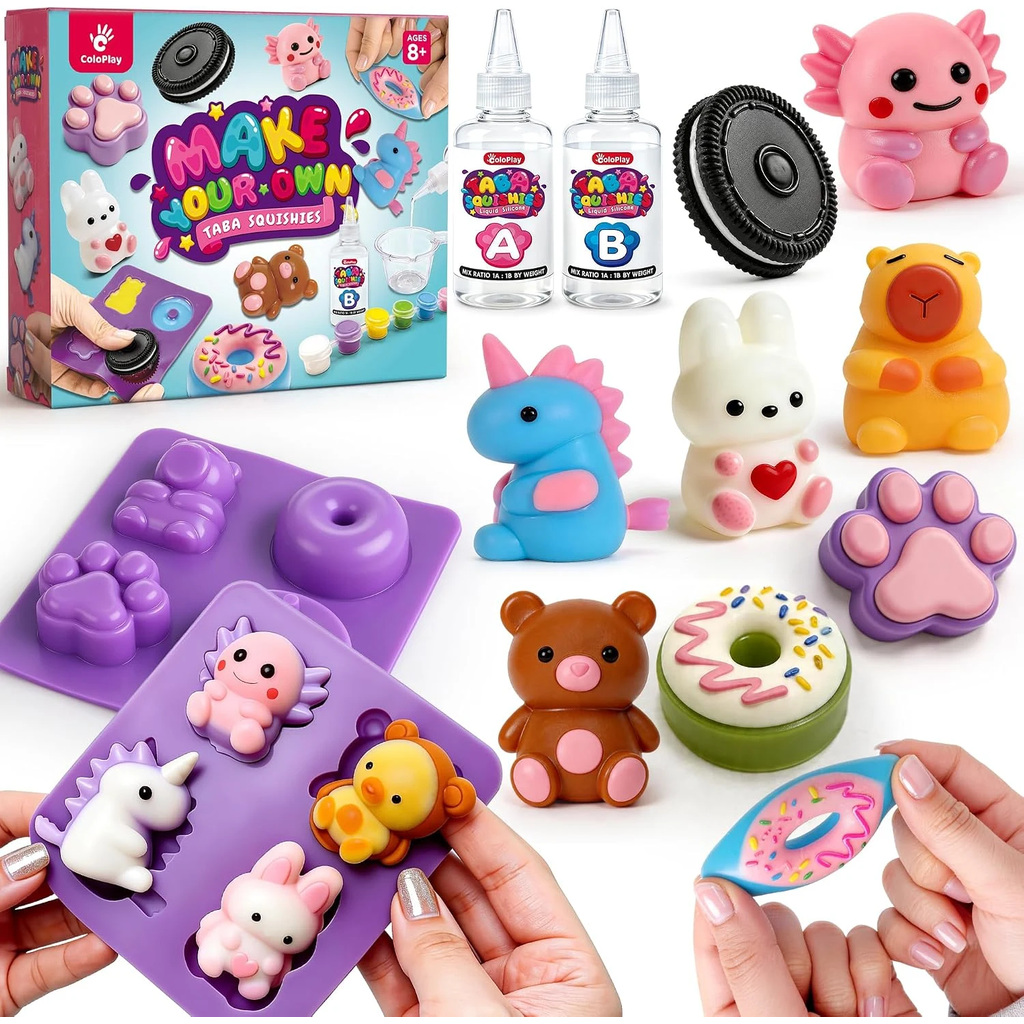
How to make a taba squishy at home, in one paragraph
Here is how to make a taba squishy at home: measure equal amounts of the two liquid silicone parts, mix them until no streaks are left, stir in colour, pour the mix into a mold, and leave it somewhere warm and flat until it has fully set. The hands-on part takes minutes. The waiting is most of the job, and it is the step people are most tempted to cut short.
This guide follows the steps written on the two liquid-silicone kits we sell, and fills the gaps with the published data sheet for one widely used 1:1 craft silicone. We have not run timed tests of our own, so where a number comes from a listing or a data sheet, we say which one.
What to set up before you open the bottles
- Gloves, and not latex. Both of our silicone kit listings say to wear gloves while mixing. The product page and data for Smooth-On’s Ecoflex 00-30, a common 1:1 soft silicone, go further: “Latex gloves will inhibit the cure of the rubber”, and recommend vinyl gloves. Our listings do not name the silicone chemistry inside the kits, but using vinyl or nitrile gloves costs nothing and removes one possible cause of a tacky squishy.
- A covered table. Both listings also ask you to cover the work surface.
- A warm room. The same data sheet says to store and use the material at room temperature (73°F / 23°C) and not to cure it below 65°F (18°C). A cold garage or a winter windowsill can easily drop below that.
- Two identical cups or a kitchen scale, plus stirring sticks. Our paw, capybara and bunny kit includes cups and sticks; the 8-mold kit’s listing does not mention them.
- A flat spot nobody will bump for the whole curing time.
Step by step: DIY taba squishy with a two-part kit
- Measure part A and part B equally. Our paw kit states the ratio as 1:1, and the Ecoflex data sheet gives 1A:1B by both volume and weight. Fill two identical cups to the same line, or weigh them. Pouring by eye is an easy way to get the ratio wrong without noticing.
- Mix longer than feels necessary. The Ecoflex instructions say to mix for 3 minutes, scraping the sides and bottom of the cup several times. Unmixed silicone clings to the cup walls; if it gets poured in at the end, it can leave a sticky streak inside the finished piece.
- Add colour after the two parts are combined. Our paw kit lists colour paste, glitter and glow powder. Add a little and stir again until the colour looks even.
- Pour slowly into one corner of the mold and let the mix flow across. A thin, steady stream usually traps fewer air bubbles than a quick dump. Do not wait too long between mixing and pouring: every silicone has a working time (Ecoflex 00-30 lists 45 minutes), after which it thickens.
- Leave it alone. Our 8-mold kit states that its squishies cure in 24 hours. The paw, capybara and bunny kit does not state a time on its listing, so follow the leaflet in the box. For comparison, Ecoflex 00-30 lists a 4-hour cure, which is a good reminder that times differ between silicones and the kit’s own figure is the one to trust.
- Demold gently. Peel the mold back from the edges rather than pulling the squishy out by one end. If you used glow powder, the paw kit listing notes that finished glow pieces light up after being charged under light.
The 8-mold kit describes its molds as reusable, so once a piece is out you can wash the mold and pour the next one.
Why is my taba squishy sticky?
A finished silicone squishy should hold its shape and not leave residue on your fingers. If yours is gooey, wet in spots or leaves a film, work down this list.
| What you see | Cause to check first | What to change next time |
|---|---|---|
| Sticky all over, even after the stated cure time | Parts not measured 1:1 | Use identical cups filled to the same line, or weigh both parts |
| Wet streaks or a gooey core, rest is fine | Unmixed silicone from the cup walls | Mix for the full time and scrape sides and bottom several times |
| Surface stays tacky where it touched your glove or the mold | Cure inhibition (latex, sulfur-based clay and some other materials are listed by the silicone maker) | Switch to vinyl or nitrile gloves; do not use sulfur clay models |
| Everything is slow and soft | Room too cold | Cure at normal room temperature, not below 65°F / 18°C |
| Soft and dents when you demold | Taken out too early | Wait the full time the kit states |
One more thing before you throw a batch away: a slight tack can be normal. Several ready-made silicone squishies in our shop are described that way on their own listings, such as a chick squishy with a “slightly tacky shell” and a dragon made of “soft, tacky silicone”. A light grip on the surface is part of that feel. What is not normal is residue, wet spots, or a piece that will not hold its shape.
The easiest route: a kit or loose supplies
If you are making your first DIY taba squishy, a kit removes most of the guesswork because the molds and silicone arrive matched.
- The 8-mold liquid silicone kit ($21.99) comes with a picture step-by-step guide and states the 24-hour cure.
- The paw, capybara and bunny kit ($29.99) adds cups, sticks, colour paste, glitter, flocking powder and anti-stick gel.
- If you want to skip mixing and curing altogether, the TPR skin kit ($27.99) works differently: you fill pre-made skins and seal them, with nothing to set.
All three are in our squishy making kits collection. And if you would rather buy one already made, the kawaii fox squishy is a finished soft-silicone piece you can compare your own results against.
FAQ
How long does it take to make a taba squishy at home?
Mixing and pouring take a few minutes. Curing takes much longer: our 8-mold kit states 24 hours. Other silicones list other times, so go by the figure on your kit.
Is there an easy way to make a taba squishy at home without silicone?
Not a true taba squishy, since the name refers to the poured silicone style. The closest no-silicone option we sell is a TPR skin kit, where you fill ready-made skins and seal them, so there is no mixing or curing.
Why is my DIY taba squishy still sticky after curing?
The usual causes are an uneven A-to-B ratio, silicone that was not mixed off the cup walls, a cold room, latex gloves or clay touching the mix, or demolding too early. A slight tack on the surface can be normal for soft silicone.
Can kids make a taba squishy?
Our silicone kit listings say younger children make squishies together with an adult, with gloves on and the table covered.